
3D embroidery care is essential to preserve the raised dimensions, texture, and color that make these pieces stand out. In this guide, you’ll find practical 3D embroidery care tips and strategies for cleaning techniques that keep stitches bouncy and details crisp. From gentle washing to mindful drying, the right routine protects lift, prevents distortion, and helps preserve the overall structure of the design. By avoiding harsh chemicals and high heat, and by choosing the correct stabilizer removal approach for 3D embroidery when needed, you maintain dimensional integrity over time. With consistent, thoughtful care, your 3D embroidered pieces stay vibrant, tactile, and true to the original motif.
Think of this topic as preserving dimensional stitching, where raised elements retain their lift and texture after handling and cleaning. In an LSI-inspired view, you would use terms like dimensional embroidery maintenance, raised-stitch preservation, and texture-friendly care to describe the same practices. The goal remains the same: protect form, color, and depth while avoiding distortion from moisture, heat, or rough handling. By referencing stabilizers, backing, and threads in adaptable ways, you create content that aligns with user intent across related searches.
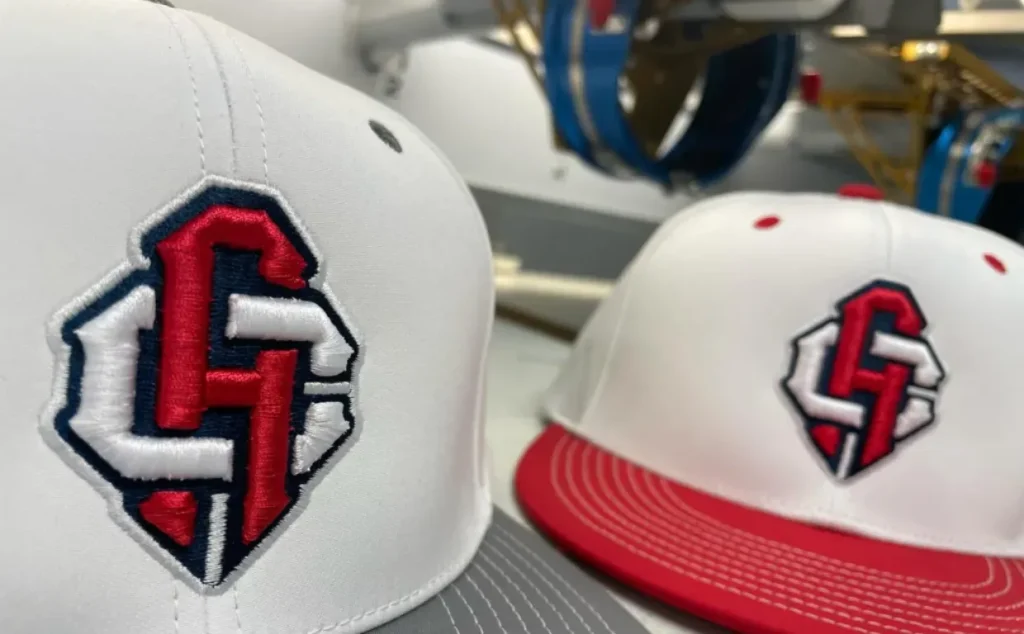
3D embroidery care: Protecting lift, color, and texture
3D embroidery care is all about preserving the distinct lift that gives these designs their depth. The raised stitches, layered elements, and thick threads are wonderfully tactile, but they are also more vulnerable to moisture, heat, and handling than flat embroidery. By understanding how moisture, temperature, and friction affect the structure, you can protect the texture and keep colors vibrant for years. This is where practical care habits—gentle handling, mindful washing, and careful drying—make a real difference.
Adopt simple 3D embroidery care tips from the start: test colorfastness on a hidden area, limit agitation, and plan storage that minimizes pressure on the raised elements. Recognize that stabilizers and thread types influence how your piece responds to cleaning and drying, and adjust your routine accordingly to maintain lift and structure over time.
Cleaning 3D embroidered projects without flattening the lift
Cleaning 3D embroidered projects requires a careful touch to avoid compressing the raised stitches. Start with spot cleaning for light dirt using a soft brush or cloth dampened with a mild detergent solution, and dab rather than scrub. Always test a hidden area first to confirm colorfastness, because even gentle cleaning can affect some colorways or fibers.
For more substantial soiling, switch to gentle washing methods. Hand wash in cold water with a mild detergent, avoiding chlorine and harsh chemicals that can weaken threads and dull colors. Keep agitation to a minimum and rinse thoroughly, then press out excess water with a towel rather than wringing. These practices help preserve the dimensional look while removing grime.
Washing 3D embroidery: Safe methods for delicate dimensional stitches
Washing 3D embroidery can be safe when you follow cautious steps designed to minimize movement and abrasion. If machine washing is acceptable for a particular item, place it in a mesh laundry bag, set a gentle cycle with cold water, and use a mild detergent. Skip bleach, and let the mesh bag cushion the piece to protect the lifted elements from direct friction.
If you’re unsure about machine washing, or if the piece is very dense, opt for hand washing instead. Submerge in cold water with a small amount of detergent, agitate gently, and rinse until clear. Do not wring; instead, press water out with a clean towel. After washing, lay the piece flat to air dry to maintain volume and avoid distortion.
Preserving 3D embroidered pieces: Storage, display, and long-term strategies
Storage plays a crucial role in preserving 3D embroidered pieces. Keep items in a cool, dry environment away from direct sunlight to slow color fading and fiber degradation. If possible, store flat or on a supportive mount to prevent pressure on raised elements. Use acid-free tissue to cushion areas that are most vulnerable to crushing and to keep dust at bay.
Display decisions matter too. When you choose to show 3D embroidery, select a frame or case with UV-protective glass and avoid direct sun sources. Dust can accumulate and obscure texture, so use light, regular cleaning and minimize handling. Proper display and storage work hand in hand to keep the sculpture-like quality of the stitches intact over time.
Stabilizers and threads: The backbone of 3D embroidery care
Stabilizers are the unseen backbone of 3D embroidery. They provide a firm base that keeps stitches upright and dimensional, influencing how well the piece holds its shape during cleaning and wear. Choosing the right stabilizer—cut-away for dense work, tear-away for lighter areas—affects both finish and after-care, including how easy it is to remove or trim later on.
Stabilizer removal for 3D embroidery is a nuanced step. When removal is required, proceed gently, in small sections, to avoid distorting raised areas. Thread care also matters: different fibers react differently to moisture and heat. Polyester threads tend to resist shrinking and fading, while silk or rayon may show sheen changes or color bleed if not cared for properly. Tailor your cleaning plan to the thread types used in your design.
3D embroidery care tips: Quick routines to maintain lift and color
A simple maintenance routine keeps your 3D embroidery looking fresh. After finishing a project, inspect the stitches, trim stabilizers as needed, and store the piece in a breathable environment. Regular, light care beats heavy, infrequent cleaning that can compromise texture. This aligns with practical 3D embroidery care tips that emphasize prevention and consistency.
Ongoing care involves setting a washing and drying cadence that fits the material. Use cold water and mild detergent for routine cleaning, lay flat to dry, and reshape while damp as necessary. Periodically re-evaluate the stability of the raised elements and adjust stabilizer choices for future projects to keep preserving 3D embroidered pieces and their signature dimensional look.
Frequently Asked Questions
What are essential 3D embroidery care tips to preserve lift and color?
Key 3D embroidery care tips include gentle handling, the right stabilizer choice, mindful washing, proper drying, and careful storage to protect texture and vibrancy. Start with colorfastness tests on hidden areas, then clean with cold water and a mild detergent by hand or in a mesh bag on a gentle cycle. Avoid high heat, harsh chemicals, or vigorous agitation that can flatten the raised stitches; reshape the piece while damp and lay flat to dry.
How can I clean 3D embroidered projects without flattening the raised stitches?
Begin with spot cleaning using a soft brush or cloth dampened with a mild detergent solution, dab rather than rub. For more soil, hand wash in cold water with a mild detergent, rinse thoroughly, and gently press out water—do not wring. This approach aligns with cleaning 3D embroidered projects while preserving texture.
Is washing 3D embroidery safe for wearable pieces, and what methods work best?
When considering washing 3D embroidery on wearables, choose cold water and a mild detergent. You can hand wash or machine wash in a mesh bag on a gentle cycle with cold water and no bleach. After washing, lay flat to dry to maintain the stitch height and prevent distortion.
What strategies help with preserving 3D embroidered pieces during storage and display?
Store in a cool, dry place away from direct sunlight to protect color and texture. For display, use UV-protective framing or cases and avoid heavy pressure; handle gently and support the fabric from underneath to maintain lift of the raised elements.
When should I perform stabilizer removal for 3D embroidery to maintain texture?
Stabilizers provide critical support during stitching, so removal should be done carefully after the embroidery is complete. In many designs you may remove stabilizers partially or trim them close to the stitches to preserve texture; this is a key aspect of stabilizer removal for 3D embroidery.
What are common mistakes in 3D embroidery care during washing, and how can I avoid them?
Common mistakes in washing 3D embroidery care include using hot water, aggressive agitation, and tumble drying, which can flatten stitches or bleed colors. To avoid these issues, wash in cold water with a mild detergent, opt for a gentle cycle or hand wash, skip bleach and fabric softeners, test colorfastness on a hidden area, and air-dry flat.
| Aspect | Summary |
|---|---|
| Understanding the Basics | 3D embroidery uses raised stitches and added dimension; care protects the structure, texture, and color through gentle handling, mindful washing, stabilizers, and proper handling of different stitch types. |
| Cleaning Methods | Cleaning removes dirt without shrinking or flattening raised elements; use spot cleaning, mild detergent, test colorfastness, and avoid harsh chemicals. |
| Washing 3D Embroidery Safely | If machine washing, place in a mesh bag and use a gentle cycle with cold water; hand wash for delicate items; air dry flat to protect shape. |
| Stabilizers, Threads, and Structural Care | Stabilizers provide the base that keeps stitches upright; choose types (cut-away vs tear-away) carefully and remove (or trim) gently; thread type affects moisture and heat response. |
| Ironing, Pressing, and Heat | Use low heat with a pressing cloth; test on hidden areas; press gently without sliding the iron; steam or minimal contact can be safer alternatives for delicate elements. |
| Storage and Display | Store in a cool, dry place away from direct sunlight; display away from heat sources; support the fabric from underneath when handling to protect raised stitches. |
| Common Mistakes and Troubleshooting | Flattened stitches, color bleeding, stabilizer residue, or distorted shapes; fix by gentle washing, testing detergents, using cold water, and adjusting stabilizer strategy. |
| Maintenance Routine and Quick Checklist | Inspect stitches after finishing; spot clean when needed; dry flat; store/display away from direct sun; periodically reevaluate stabilizer decisions for future projects. |
Summary
Conclusion: 3D embroidery care is about preserving the texture that makes these pieces so captivating. By following gentle cleaning methods, mindful washing, careful handling of stabilizers, and thoughtful drying and storage practices, you can keep your 3D embroidered projects looking fresh and dimensional for years to come. Remember: the goal of 3D embroidery care is not just cleanliness—it’s maintenance of lift, color, and structure so your designs stay as vibrant and tactile as the day you stitched.