
UV DTF transfer issues can disrupt vibrant prints on garments and textiles, impacting color accuracy, adhesion, and overall appearance right from the start. Understanding root causes, such as incomplete curing and color shifts, helps you troubleshoot more effectively by identifying contributing factors like ink density, substrate moisture, and press timing. This guide offers UV DTF troubleshooting steps, tested workflows, and best practices designed to improve consistency, reduce rework, and maintain reliable results across production batches. You will learn how to diagnose problems such as uncured transfers and how to assess surface tackiness, edge integrity, and color bleed to pinpoint where things go wrong. The goal is to deliver durable, high-quality results suitable for everyday wear, backed by practical fixes and repeatable procedures your team can rely on.
In other words, the topic can be framed as UV ink transfer challenges or cure-consistency concerns across different fabrics, a framing that aligns with Latent Semantic Indexing (LSI) principles. Common DTF print issues often show up as color shifts, texture irregularities, or edge lifting, signaling possible DTF curing problems. By focusing on process checks such as thorough prepress preparation, film quality verification, and controlled curing, you can reduce variability and improve results across runs. A systematic workflow helps prevent peeling UV DTF transfers and promotes durable, consistent finishes for uniforms, merch, and other textiles.
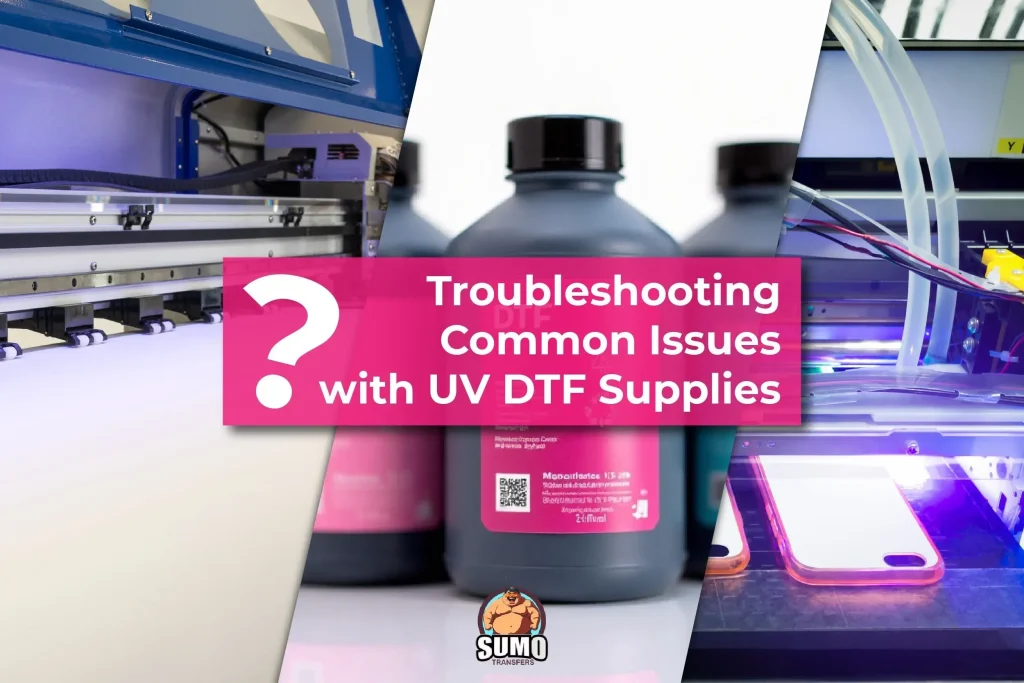
Diagnosing UV DTF Transfer Issues: From Symptoms to Solutions
UV DTF transfer issues often present as tacky surfaces, color shifts or edge curling. By mapping these symptoms to likely root causes—lamp energy, ink density, adhesive powder quality, transfer film integrity, or substrate moisture—you create a practical path to resolution. Framing problems this way helps you prioritize fixes for durability, color accuracy and overall appearance.
Begin with a baseline assessment that links observed symptoms to process parameters. Use a radiometer to verify UV lamp energy and check curing distance. Run a test strip on the same garment type to gauge cure completeness, and document results to isolate whether the issue is related to adhesion, film quality, or ink cure.
Optimizing UV DTF Troubleshooting with Proper Curing and Energy Management
Effective UV DTF troubleshooting hinges on consistent curing energy. If the UV lamp is aging or miscalibrated, you may see uncured tackiness or faint color—clear signs of DTF transfer issues that require attention to energy output and exposure time. Inspect lamp intensity uniformity across the curing area and verify belt speed if using a conveyor system.
Adopt a repeatable calibration workflow that includes a test strip and manufacturer-recommended exposure settings. Regularly validate energy output with trusted references and adjust cure time to balance complete adhesion with avoiding overcure, which can cause brittleness or yellowing on white areas. This disciplined approach is a core part of UV DTF troubleshooting and helps prevent recurring DTF curing problems.
Mastering Adhesives, Films and Powder: Preventing Peeling UV DTF Transfers
Edge definition and wash durability depend on adhesive powder quality and transfer film integrity. Powder that clumps or coats unevenly creates weak bonding, increasing the risk of peeling UV DTF transfers after washing. Selecting a compatible film and maintaining clean handling practices are essential for strong, long-lasting prints.
Ensure even powder distribution, re-powder when necessary, and confirm film compatibility with your ink chemistry. Inspect the transfer film for damage or pinholes that could produce white spots or line defects. Regular cleaning and dust-free handling reduce the chance of peel and lift during wear.
Color Accuracy and Calibration: Tackling DTF Transfer Color Mismatch
Color management is critical for consistent results across fabrics. Calibrate ICC profiles to the specific textile and ink set, and use color management tools to maintain accurate saturation and hue. Treat color mismatches as a diagnostic signal for process tweaks rather than as an unsalvageable flaw.
Perform print tests to fine-tune ink density for each garment type. Consider a white underbase for dark fabrics to improve brightness and color fidelity. Documenting color tests within a structured workflow helps achieve repeatable UV DTF print fixes and minimizes variation across batches.
Preventing White Spots and Pinholes: Film, Dust, and Prepress Best Practices
White spots and pinholes often point to dust, film defects or adhesive gaps. Cleaning the transfer surface, inspecting the film for defects, and ensuring powder coverage uniformity are essential steps to minimize these issues. A controlled prepress routine reduces variability and enhances overall print quality.
Run controlled test prints to identify problematic areas and adjust your film and powder handling accordingly. Keep the printing area clean and track potential sources of dust or lint. These practices are foundational for UV DTF troubleshooting and contribute to reliable, consistent UV DTF print fixes.
Optimizing Pressing Conditions and Finishing for Durable UV DTF Prints
Pressing conditions—temperature, time, and pressure—must be tuned to the fabric type to prevent curling, cracking or incomplete cure. Excessive heat or uneven pressure can lead to DTF curing problems that compromise durability and appearance.
Finish with proper cooling and post-press handling to avoid warping or edge lifting. Record curing times and temperatures for each fabric family to build a reusable reference library. Implementing these best practices supports durable UV DTF transfers and streamlines ongoing UV DTF printing fixes.
Frequently Asked Questions
What are common UV DTF transfer issues and how can I troubleshoot them?
Common UV DTF transfer issues include tacky or uncured surfaces, peeling after wash, color mismatch, ghosting, white spots and curling. To troubleshoot, verify UV lamp energy with a radiometer and adjust the lamp distance for a complete cure; run a test strip to confirm color density and cure; prepress the fabric to remove moisture; ensure adhesive powder is evenly applied and compatible with the film; use a film designed for UV DTF and test on the garment type. Maintain a controlled environment to minimize humidity and temperature effects and keep a consistent workflow to reduce recurring issues.
What causes DTF curing problems and how can I fix UV DTF curing problems?
DTF curing problems usually arise from insufficient UV energy, incorrect lamp distance, or aging equipment causing uneven cure. Fixes include measuring lamp energy with a radiometer and adjusting the distance to the recommended exposure, ensuring uniform energy across the transfer, running a test strip to verify complete cure, letting transfers cool before handling, and confirming that the transfer and film are compatible with the ink and powder.
Why do UV DTF transfers peel after washing and what are UV DTF print fixes to prevent peeling?
Peeling after washing is typically due to weak adhesion from poor prepress, incomplete cure, or powder bonding problems, and improper laundering conditions. Fixes: prepress the fabric to remove moisture and flatten fibers, ensure the entire transfer cures evenly, re-powder and re-adhere if needed, avoid detergents or high heat that degrade the adhesive, wash inside-out and allow proper drying, and verify the transfer film compatibility.
Why can color mismatch occur in UV DTF prints and what are UV DTF print fixes?
Color mismatch can result from incorrect color management, poor ink density, or undercuring. UV DTF print fixes include calibrating print profiles with ICC profiles tailored to fabric and ink, running color tests and adjusting ink density per garment type, ensuring the curing process does not overheat light colors, and using a white underbase on dark fabrics to improve brightness and color accuracy.
How can I prevent ghosting and misalignment in UV DTF transfer issues and how can I fix them?
Ghosting and misalignment are caused by printing misalignment, improper transfer transport, or substrate movement during cure. Fixes: check print alignment with registration marks and verify alignment at multiple points, ensure the transfer film is loaded correctly and the substrate is stable during printing and curing, and secure the garment during pressing to prevent movement.
What is a practical workflow for UV DTF troubleshooting to improve transfer reliability?
A practical workflow for UV DTF troubleshooting starts with a baseline check of lamp energy, curing parameters, transfer film and adhesive powder. Then isolate the issue with a simple test print on the same garment type, apply fixes based on the observed problem, run a second test to confirm improvement, and finally document the settings to build repeatable SOPs for future UV DTF transfers.
| Topic | Key Points |
|---|---|
| Understanding the factors that influence UV DTF transfers |
“ |
| Common UV DTF transfer issues |
“ |
| Practical troubleshooting workflow |
“ |
| Bottom line tips for reliable UV DTF transfers |
“ |
| Notes |
“ |