
When you choose to design your own embroidered patches, you can personalize clothing, bags, and gear with distinctive flair. This process blends creativity with practical tools like custom patch templates to ensure clean shapes and bold color blocks. From versatile patch embroidery software to simple DIY patch design tools, the right setup helps your ideas translate into stitch-ready art. By starting with clear concepts and scalable templates, you can craft patch design ideas that pop on fabric and appeal to customers. Whether you’re patching jackets, bags, or gear for a club, business, or personal collection, the result should feel polished and ready to sell.
Beyond the phrase design your own embroidered patches, the concept can be explored through alternative terms that keep the idea fresh for readers and search engines. For example, creating customized patches, embroidered badges, or sew-on symbols captures the same appeal, while staying aligned with design goals. This approach follows LSI principles by weaving in related topics like vector artwork, patch templates, and embroidery software to strengthen relevance without overloading keywords. By reframing the topic with phrases such as crafted patches and textile identifiers, you widen reach across audiences who search for similar products or techniques.
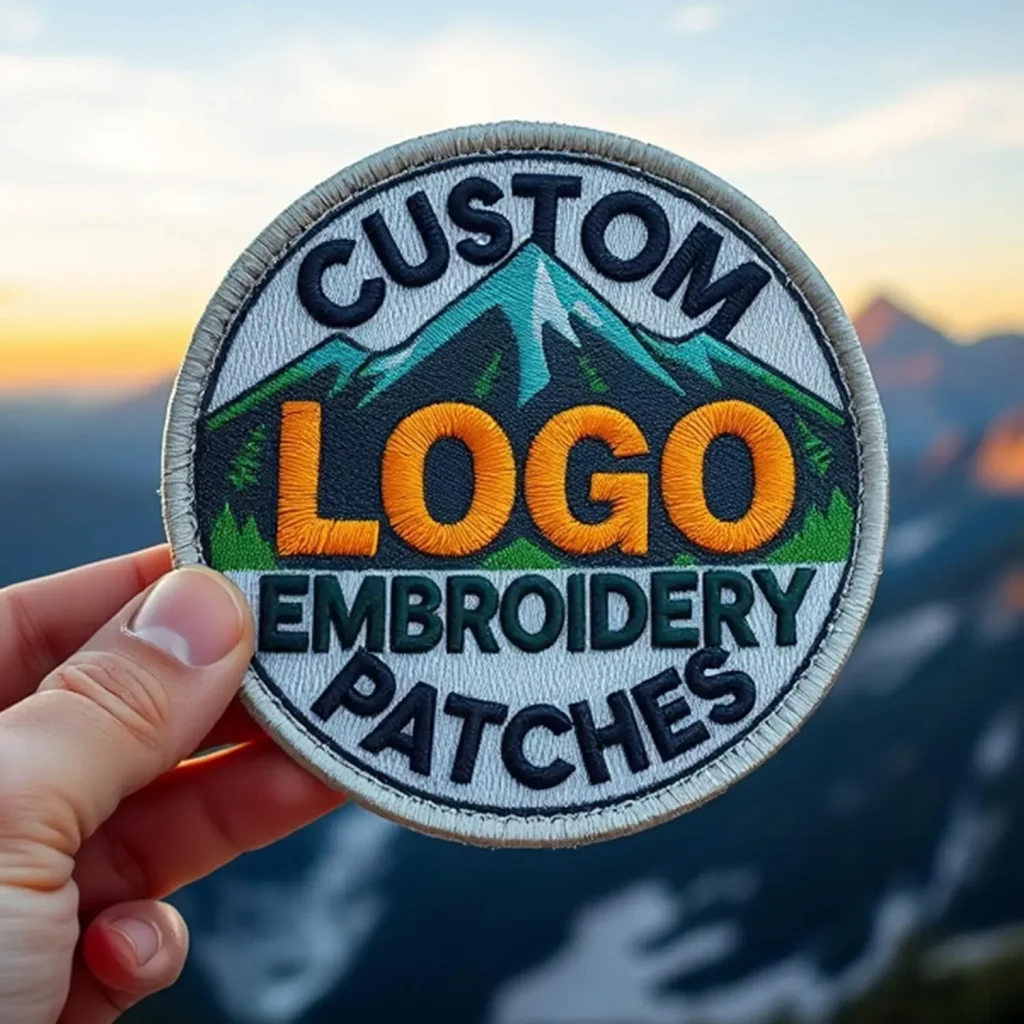
Design your own embroidered patches: from concept to silhouette
Starting with a clear concept is essential whenever you design your own embroidered patches. Think about the story you want the patch to tell, the audience wearing it, and where it will be used. Translating that idea into a simple silhouette, bold color blocks, and legible text helps ensure the final stitch-out reads clearly on fabric and at a distance. By centering on a strong concept, you reduce complex details that can complicate embroidery and keep production efficient.
A practical step is to map your concept into a layout using custom patch templates. These templates guide edge finishes, margins, and maximum stitch density, ensuring every patch in a collection maintains a consistent look across sizes and fabrics. When you anchor your work to templates, you can iterate variations in color and shape without losing the essential structure.
The power of custom patch templates for consistency
Templates act as a blueprint for every patch, helping you keep a uniform silhouette, edge finish, and color balance across a line. This is especially valuable when you’re exploring patch design ideas such as logos, badges, or monograms. With a solid template in hand, you can test multiple concepts while preserving a cohesive brand look.
Designers rely on custom patch templates to manage margins, stitch density, and finish type. A well-crafted template reduces rework and speeds up production, making it easier to scale from a single patch to a full collection while maintaining quality across fabrics.
DIY patch design tools: beginner-friendly to professional-grade
Whether you’re patching for fun or building a small business, the right DIY patch design tools empower you to translate ideas into stitch-ready art. Start with beginner-friendly vector editors and paired templates to build confidence, then graduate to more advanced tools as your skills grow. This path keeps the creative control you want while making the process approachable.
As you advance, look for features like layer management, color mapping, and mock embroidery previews. Integrating vector design with patch-design software creates a smooth workflow and helps you stay crisp when scaling. For many creators, a blend of DIY tools and professional templates accelerates development without sacrificing quality, and it keeps options open for future expansion.
Patch embroidery software: features that sharpen your craft
Patch embroidery software brings precise control to your designs, offering density maps, underlay options, and stitch-type libraries that let you tailor every patch. These capabilities help you optimize stitch coverage for different fabrics, reducing puckering and ensuring durability.
Experiment with color stops, simulate embroidery, and test edge finishes before you sew. Export machine-ready files in DST, PES, or EXP formats, and save vector references (SVG or PDF) for templates and future projects. Using patch embroidery software consistently improves accuracy across batches and speeds up production cycles.
Inspiration for patch design ideas: themes that resonate
Great patch design ideas start with storytelling. Consider club logos, commemorative patches for events, hobby themes, or fashion-forward motifs that add texture to jackets and bags. If you’re exploring design embroidered patches, aim for designs that translate well to thread and stay legible at typical patch sizes. The best ideas balance creativity with practicality for embroidery.
Trend-forward patches often mix techniques, such as subtle appliqué, metallic threads, or color blends that read clearly from a distance. Modular designs that can be rearranged invite collectors to mix and match, increasing engagement and potential repeat purchases.
From vector art to production: a practical workflow for patches
Your workflow starts with vector art, then moves through patch templates to guide size, edge finish, and stitch counts. Draft the concept in a vector program, import into patch-design software, align color blocks, assign stitches, and run a mock embroidery to catch density or underlay issues early. This approach keeps you in control from first sketch to stitch-ready file.
Export the final designs in machine-ready formats (DST, PES, EXP) and test on a real swatch to validate thread tensions and fabric interaction. Maintaining organized templates and color palettes throughout the process speeds production and helps you deliver consistent patches that customers trust.
Frequently Asked Questions
What do I need to know to design your own embroidered patches as a beginner?
To design your own embroidered patches as a beginner, start with a clear concept and translate it into embroidery-friendly vector artwork. Choose a simple silhouette, bold color blocks, and legible text if used. Plan stitch types and densities, account for underlay and pull compensation, and pick a fabric and stabilizer. Use patch templates to set margins and edge finishes (merrow or satin), then test with a mock embroidery and export in common formats (DST, PES, EXP) before making samples.
How do custom patch templates help you design your own embroidered patches for consistency?
Custom patch templates set the correct size, margins, edge finish, and safe area, helping you keep every patch consistent. They guide density, stitch type, and color stops so a whole line matches the same silhouette and look. Reuse templates across your collection to speed production and ensure quality from first patch to last.
Which should I use, DIY patch design tools or patch embroidery software, when designing your own embroidered patches?
DIY patch design tools are great for concepting and initial vector work, while patch embroidery software offers advanced control over stitches, density maps, and machine-ready exports. Start with DIY tools (vector editing, basic templates) and move to patch embroidery software when you need precise pull compensation, underlay planning, and color management. Export formats like DST, PES, and TAP are commonly supported.
What patch design ideas work best for embroidered patches?
Focus on design ideas that translate well to embroidery: simple shapes, strong silhouettes, high color contrast, and clear legibility. Consider modular patch design ideas that can be combined or rearranged, and avoid fine details that won’t stitch well. Use texture with different stitch types and subtle shading through thread blends for depth.
How should I prepare artwork for patch embroidery software to design your own embroidered patches?
Create clean vector shapes and solid color blocks, then export or reference them in a vector-friendly format (SVG or PDF). Import into patch embroidery software, align color blocks, assign stitch types, and test density and underlay. Simulate embroidery to catch issues before exporting machine-ready files (DST, EXP, TAP) and always keep a vector version for future updates.
What practical tips help you test and iterate when designing your own embroidered patches?
Test with a sample patch on the target fabric to check color accuracy, stitch density, and edge finish. Tweak stabilizers and fabric tension to prevent puckering, adjust pull compensation if needed, and iterate templates and color palettes. Document your settings to streamline future designs and maintain consistency across patches.
| Aspect | Key Points |
|---|---|
| Introduction/Overview | Patches personalize clothing, bags, and gear; suitable for hobbyists, small businesses, and creators; patches are durable and easy to apply. |
| Why design patches | Express identity, commemorate events, and build belonging; for teams/clubs; for small businesses, patches diversify catalogs and boost brand visibility; you control shape, color, size, and stitch counts. |
| Foundations | Start with a simple concept translated into embroidery-ready artwork: simple silhouette, clear color blocks, legible text; consider thread colors and fabric; templates/tools speed and accuracy; basics include density, underlay, pull compensation. |
| Tools & templates | Use vector artwork for clean outlines; embroidery templates guide stitch types, density, and edge finishes; typical workflow: concept in vector, import into patch software, align color blocks, assign stitches, test embroidery, tweak density/underlay. |
| Choosing tools | Match tools to your skill and goals; essentials: vector drawing, patch templates, embroidery exports (DST/PES/EXP), color management; mix of free and paid tools. |
| Designing your patch: steps | Eight steps: concept, shape/size, vector art, layer colors, define stitches, add text, simulate, export (DST/EXP/TAP/PES) and test; export vector version (SVG/PDF) as reference. |
| Templates & tips | Templates ensure size/finish consistency; account for merrow edge, size and density; plan 4–8 color stops; choose fabric-appropriate densities. |
| Trends & ideas | Experiment with mixed media, appliqué, metallic threads, glow-in-the-dark or neon accents; modular patches for collectability. |
| Quality & branding | Consistency across collections; use templates for silhouette and color; neat edges and balanced stitching convey value and trust. |
| Practical tips | Keep edges clean with bold shapes; limit fine text; use high-contrast colors; test on target fabrics; document processes. |
| DIY vs professional | DIY works for personal use; for commercial, partner with embroidery houses for digitizing, color matching, and production testing; hybrids can balance control and quality. |
| Bottom line | Solid planning and templates help you translate ideas into polished patches that perform well on fabric. |
Summary
design your own embroidered patches is a journey from concept to stitch-ready artwork, revealing how the right templates, tools, and workflow empower creators to craft durable, eye-catching patches that look great on fabric and endure use. Start with a clear concept, leverage simple templates, choose durable fabrics, and test early and often. As you build a library of templates and color palettes, you’ll speed future designs while keeping patches consistent and high-quality. Whether you’re pursuing personal expression, club branding, or a small-batch product line, this field welcomes experimentation and steady practice.