
DIY to Pro: Custom Patches can transform a plain jacket into a personal statement. If you’re wondering how to make patches at home, this guide provides a practical, step-by-step path. Think of this as a custom patches tutorial that blends design ideas with embroidery techniques. From sketching concepts to choosing backing, DIY patch making is a craft you can master in your own workspace. Along the way you’ll explore patch design ideas, color palettes, and edge finishes that influence the final look.
Beyond the beginner projects, the journey becomes badge creation for wearables, emphasizing durable fabrics and precise stitching. This evolution—from home-based craft to professional-grade insignia—uses a similar workflow: concept, materials, digitizing, stitching, and finishing. Consider terms like embroidered patches at home, patch production, and customizable emblems to frame your goals without relying on the exact phrase. LSI-friendly language helps search engines relate this content to designer patches, monograms, and branded patches for teams, clubs, or small businesses. With the same care for edge finishing, stabilizers, and backing options, you can repeat the process to build a growing library of professional-looking patches. As you experiment, document your results, adjust tensions, and curate a growing catalog of patches ready for sale or gifting.
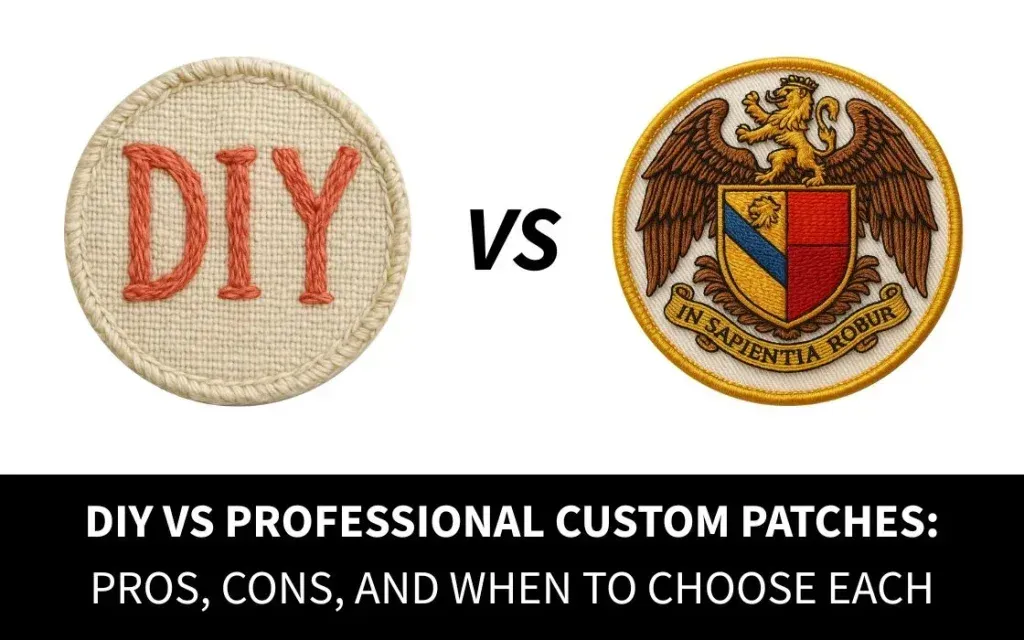
From Concept to Creation: DIY to Pro Patch Design at Home
Every successful patch starts with a clear concept. Before you touch a sewing machine or embroidery setup, sketch ideas on paper or in a design app, and clarify the patch’s purpose—whether commemorative, brand-focused, or purely decorative. Thinking about size, placement on sleeves, backpacks, or vests, and scalable templates helps you move smoothly from concept to production. This approach mirrors the DIY to Pro journey, turning a simple idea into a professional-looking patch you can produce at home.
For those learning how to make patches at home, a structured design plan is essential. Start with bold color blocking and simple silhouettes, then export artwork as vector SVGs or high-resolution PNGs to serve as embroidery references. By planning color palettes and limiting thread colors, you reduce production costs and improve color fastness across different fabrics. Patch design ideas often emerge from clean shapes and high-contrast elements that stay legible from a distance, which is a hallmark of a pro-grade patch.
Materials and Tools for DIY Patch Making at Home
Choosing the right materials is essential for a durable, professional finish. Gather a patch base fabric (twill, felt, or cotton) that suits the garment and intended wear, plus stabilizers (tear-away or cut-away) to prevent embroidery deformation. Quality embroidery thread and a reliable backing (iron-on, sew-on, or Velcro) set the foundation for a long-lasting patch. Don’t forget edge options—merrow embroidery edges or a clean satin edge—along with an appropriate hoop or frame and basic cutting tools.
The beauty of the DIY patch making process is that you don’t need top-tier gear to start. A modest embroidery setup with sturdy stabilizers, good thread, and careful backing selection yields strong results. As you gain experience, you can experiment with different fabrics and backing types to handle wrinkling, fraying, or stiff patches, elevating your patches from homemade to profession-ready.
Digitizing and File Prep for Custom Patches
Digitizing converts artwork into stitch instructions your machine understands. If you don’t have full digitizing software, you can trace designs on release paper or use a service to convert artwork into common DST or PES stitch formats. Preparing the file with appropriate stitch types and densities ensures bold outlines and solid fills, while leaving enough negative space keeps the patch legible at smaller sizes.
For embroidered patches at home, start with a conservative stitch density and simple satin outlines that read well on most fabrics. Export and organize color changes to minimize thread breaks, and test on scrap fabric before committing to the final patch. A well-prepared file makes the actual stitching smoother and reduces learning curve as you scale your patch catalog.
Embroidery and Edge Finishing: Getting a Pro Look
The embroidery phase defines the patch’s visual impact. Hoop the stabilizer and fabric taut, then run test stitches to confirm color accuracy and density. Planning the color order from light to dark or bold to subtle helps reduce thread breaks and ensures crisp coverage for the final patch.
Edge finishing options dramatically influence durability and style. A merrow edge provides a strong, professional finish that resists fraying and gives a rounded border, ideal for heavy wear. Alternatively, a clean satin edge or a heat-cut edge suits minimalist designs but requires careful stabilization to prevent distortion and edge curling during washing.
Backing, Attachment, and Longevity
Backing choices determine how you attach patches and how durable they will be in real-world wear. Iron-on backings are convenient for quick projects but may not withstand frequent washing. Sew-on backs are the most durable, especially for workwear or children’s clothing, while Velcro backings suit interchangeable patches on bags or jackets.
Test backing compatibility with the garment fabric to prevent stiffness or bulk. Practicing with a sample patch helps you avoid surprises when you apply the patch to the final item, ensuring the final result looks professional and holds up to regular use.
Design Ideas, Troubleshooting, and Practice for Patch Makers
If you’re building a patch library, explore patch design ideas that blend personal emblems, club logos, or nature-inspired motifs with bold colors and simple shapes. Regular practice allows you to refine tension, edge finishing, and color choices, helping you move from DIY to Pro: Custom Patches with consistent quality.
Troubleshooting is part of the process. Address color bleed by using colorfast thread and testing on scrap fabric; increase backing or edge stabilization to contain fraying; and adjust stitch density to prevent warping on stretchy fabrics. A cycle of small practice patches helps you perfect each step—from how to make patches at home to achieving a polished, market-ready finish.
Frequently Asked Questions
What is DIY to Pro: Custom Patches, and how can it help you move from how to make patches at home to professional results?
DIY to Pro: Custom Patches is a practical, step-by-step approach to turning a design into a durable patch. It guides you from concept and design through materials, digitizing, embroidery, edging, backing, and finishing so you can achieve pro-level results at home. By following this workflow, you can go from a simple idea to a polished patch with reliable wear and a clean finish.
What materials and tools are essential for DIY patch making under the DIY to Pro: Custom Patches approach?
Essential materials include patch base fabric (twill, felt, or cotton), stabilizer, embroidery thread, backing (iron-on, sew-on, or Velcro), edge options (merrow border or satin/heat-cut edge), an embroidery hoop or frame, scissors, and a hot iron. For beginners, you don’t need top-of-the-line gear to start—the DIY patch making process can begin with a reliable home embroidery setup, good thread, and stable fabrics, then expand as you gain experience.
How do you prepare and digitize a patch design in a custom patches tutorial within the DIY to Pro: Custom Patches method?
Digitizing or file prep is a key step in the DIY to Pro: Custom Patches method. Convert artwork into stitch instructions (DST or PES) or prepare a trace on release paper, then optimize stitch density, color changes, and negative space to keep the design legible at small sizes. In a typical custom patches tutorial you’ll learn how to move from design to stitch file efficiently.
What edge finishing options does the DIY to Pro: Custom Patches guide recommend, and which is best for embroidered patches at home?
Edge finishing decisions include a merrow edge (overlock) for a durable, professional look and a clean satin border or heat-cut edge for a sleeker vibe. For embroidered patches at home, merrow edges tend to hold up better with wear, while satin edges suit minimalist designs. Choose based on patch size, design, and fabric, and test on a scrap first.
What patch design ideas should beginners explore with DIY to Pro: Custom Patches to build a cohesive patch catalog?
Great starting points include personal emblems with bold color blocking, club or team logos redesigned for high contrast, nature-inspired motifs, vintage textures, and small business branding patches using clear shapes. With patch design ideas in mind, aim for scalable templates (2–4 inches) and export artwork as SVG or high-resolution PNG for embroidery.
How should you attach patches to garments safely using the DIY to Pro: Custom Patches technique, including iron-on versus sew-on backing?
Backings determine attachment: iron-on for quick projects, sew-on for durability, or Velcro for interchangeable patches. The DIY to Pro: Custom Patches method recommends testing backings on a sample fabric, then apply iron-on by preheating and pressing as instructed, or sew around the edge for a secure finish. Always consider garment care and washing to preserve the patch.
| Aspect | Key Points |
|---|---|
| Goal | Create durable, professional-looking patches at home from concept to finished product; scalable designs and durable finishes. |
| Step 1 – Concept and Design | Define purpose and size; sketch ideas; export vector (SVG) or high-res PNG; use bold silhouettes and limited colors. |
| Step 2 – Materials and Tools | Base fabrics (twill/felt/cotton); stabilizer; embroidery thread; backing options; edge options (merrow vs satin/edge); hoop/frame; basic tools. |
| Step 3 – Digitizing & File Prep | Digitize or prep stitch file (DST/PES); optimize stitch density; manage color changes; ensure negative space; test stitch. |
| Step 4 – Embroidery & Edge Finishing | Hoop stabilizer, test stitch, order colors; edge finishing options: merrow edge or satin/heat-cut; durability considerations. |
| Step 5 – Backing & Adhesion | Choose backing: iron-on, sew-on, or Velcro; ensure fabric compatibility; test on sample. |
| Step 6 – Attaching & Finishing | Apply with iron-on or sew-on; edge stitching or zig-zag; final press and setting; avoid wrinkles. |
| Troubleshooting | Bleeding colors, loose edges, warping, small details; solutions: colorfast thread, adjust density, stronger stabilizer; practice on scraps. |
| Design Ideas | Monograms, clubs/teams, nature, vintage, branding; scalable across sizes; build a cohesive patch catalog. |
| Cost, Time & Skill Progression | Costs/time per patch drop with experience; faster workflow; progression from DIY to pro via practice. |
Summary
DIY to Pro: Custom Patches is a hands-on journey from idea to finished patch that you can pursue at home, combining design, embroidery, and finishing techniques to produce durable, professional-looking patches. This process guides you from concept and design through materials, digitizing, production, backing, and attaching, helping you build a repeatable workflow for a growing library of patches. With practice, you’ll refine stitch density, edge finishing, and backing choices to create patches that stand up to wear and washing while showcasing your creativity.