
Hand vs Machine Embroidery sits at the crossroads of tradition and technology, offering rich textures and scalable outcomes for both hobbyists and small businesses, whether you’re decorating heirloom quilts or producing a line of garments, banners, or home decor items for markets and communities. Understanding hand embroidery techniques and machine embroidery basics helps you decide where texture, speed, and control matter most, from delicate surface embellishment to fast, repeatable branding on multiple items, while considering budget, learning curve, and long-term maintenance. This guide highlights the pros and cons, with practical embroidery design tips and a clear hand vs machine embroidery comparison to help you plan workflows, allocate resources, and choose the right method for each stage of a project, including digitizing considerations and material testing. Whether you favor artisanal handwork for character or machine-driven production for consistency, choosing the right fabric and stabilizer selection can elevate every project, from casual totes to premium apparel, by improving stitch control, fabric behavior, wash-fastness, and overall drape. By blending approaches thoughtfully, you can achieve durable results that balance texture and efficiency across your collection, while planning a workflow that scales from one-off embellishments to small-batch production and future-proofing through clear documentation and process standardization.
In broader terms, this discussion can be framed as manual needlework versus automated embroidery, or artisanal stitching contrasted with digital, machine-driven decoration. Other terms you might see include traditional embroidery, hand stitching, couture embellishment, and industrial embroidery, each highlighting texture, spontaneity, or scalable production in different ways. From an LSI perspective, related concepts such as fabric and stabilizer selection, thread types, digitizing, embroidery software, and production planning help connect the topic to practical how-tos and design strategy. Using these semantically linked ideas lets creators explore texture, color blending, and workflow optimization without relying on a single term, while guiding readers toward actionable insights about when to apply each approach.
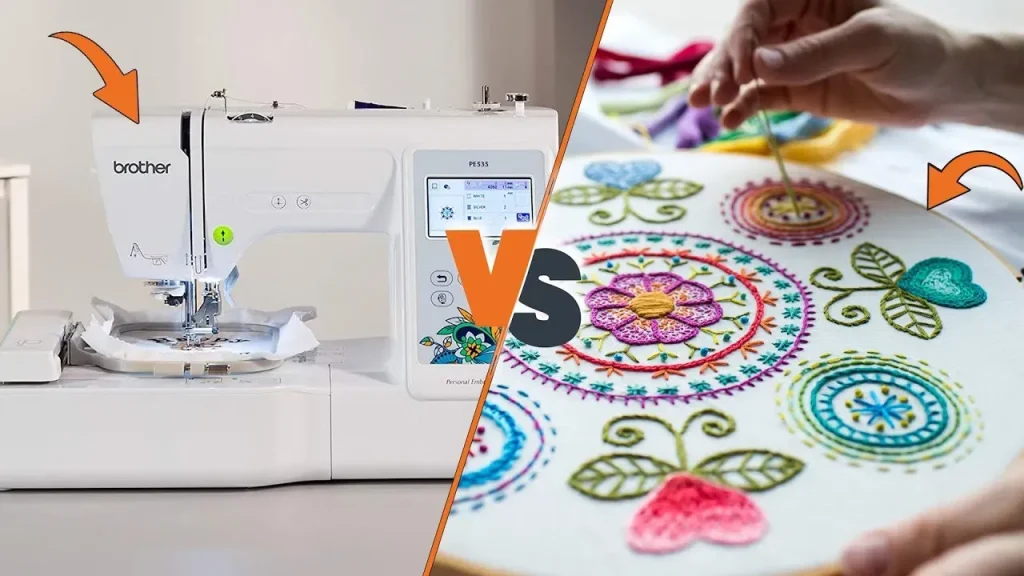
1. Hand Embroidery Techniques vs Machine Embroidery Basics: A Practical Comparison
Understanding the core differences between hand embroidery techniques and machine embroidery basics helps you pick the right approach for each project. Hand embroidery offers texture, nuance, and an artisanal feel that comes from manual control of stitch density, tension, and thread blending. This tactile quality is something many designers prize for focal motifs, heirloom pieces, and decorative accents where character matters as much as longevity.
Machine embroidery basics, by contrast, emphasize speed, repeatability, and consistency across multiple items. When you’re producing a collection or a quote-driven order, the ability to reproduce complex fills, lettering, and outlines with uniform stitch length and color management is a decisive advantage. The key is a thoughtful hand vs machine embroidery comparison that recognizes where manual embellishment adds value and where automation delivers scalability.
2. Fabric and Stabilizer Selection for Embroidery Projects
Choosing fabric and stabilizers is foundational to successful embroidery, and both hand and machine methods respond differently to different textiles. For hand embroidery, lightweight linens and cottons often yield striking texture without excessive distortion, while delicate fabrics may benefit from lighter stabilizers or even no stabilizer at all in certain stitches. The goal is to support the weave and prevent puckering without dampening the hand-stitched character.
With machine embroidery, heavier fabrics like denim or canvas typically require stronger stabilizers and sometimes backing to maintain stitch integrity during production runs. Understanding fabric and stabilizer selection—along with hooping tension and needle choice—helps you avoid distortion and thread breaks, ensuring a consistent result whether you’re sewing a single heirloom piece or a small batch.
3. Embroidery Design Tips for Texture, Color, and Durability
Embroidery design tips emphasize how stitch choice, density, and color can work together to create texture and durability. For hand embroidery, you can experiment with a wide range of stitches, thread blends, and shade transitions to achieve tactile depth that machine fills alone can’t replicate. Planning underlay, stitch direction, and thread weights helps you control surface texture and ensure the design remains legible on different fabrics.
In machine embroidery, design tips focus on digitizing for efficient color stops, proper underlay, and balanced stitch distribution. Maintaining readability of lettering and preventing long, dense fills from overwhelming a fabric requires careful planning of stitch stops and color changes. When you blend hand and machine elements thoughtfully, you can preserve texture while achieving production-friendly results.
4. Hand vs Machine Embroidery: When to Choose Each Method
Hand vs Machine Embroidery is often a spectrum rather than a dichotomy. For one-off pieces, artful embellishments, or designs where texture and personality take center stage, hand embroidery shines. It’s particularly effective on delicate fabrics or when you want to experiment with custom stitches and color blending that machines can’t easily replicate.
When your project involves multiple items, precise branding, or a need for consistent performance, machine embroidery is typically the best choice. A machine-driven workflow reduces lead times, ensures uniform stitch length and density, and supports scalable production. The best outcomes usually come from a thoughtful balance of both methods, using each where it brings the most value.
5. Hybrid Workflows: Blending Hand and Machine Techniques for Richer Embellishment
Hybrid workflows let you leverage the strengths of both approaches. Start with machine embroidery basics for base fills, outlines, or lettering to achieve speed and consistency, then add hand embroidery techniques to focal motifs for texture and personality. This blend allows for production efficiency while preserving the artisanal touch that elevates premium pieces.
A well-planned hybrid project considers the fabric, stabilizers, and thread behavior across both methods. For example, you can use a stabilizer system that supports dense machine fills and later secure a hand-stitched centerpiece with thread colors that harmonize with the machine work. This strategy aligns with embroidery design tips that emphasize balance between precision and texture.
6. Planning, Testing, and Troubleshooting: A Practical Workflow for Embroidery Projects
A practical workflow begins with a clear design objective and a realistic production plan. Define whether texture or speed takes priority, select fabrics and stabilizers accordingly, and map out a hybrid approach if needed. This stage sets the foundation for efficient execution and aligns with best practices for fabric, stabilizer, and thread choices.
Prototyping and testing are essential to prevent costly mistakes. Create a sample on similar fabric, evaluate tension, stitch density, and color management, and document the results. Troubleshooting steps—such as re-hooping, rethreading with the appropriate needle size, or adjusting stabilizers—help you address common issues before final production. A thoughtful, iterative workflow ensures you achieve embroidery that is both beautiful and durable.
Frequently Asked Questions
Hand vs Machine Embroidery: What are the key differences between hand embroidery techniques and machine embroidery basics?
Hand embroidery techniques provide rich texture and a handmade feel, with an endless stitch vocabulary but slower pace and potential consistency challenges. Machine embroidery basics emphasize speed, repeatability, and production-ready results, offering precise fills, outlines, and lettering. For best results, match the method to the design objective: texture and individuality for focal motifs with hand methods, and uniform branding and large runs with machine methods.
In a project, when should you rely on hand embroidery techniques vs machine embroidery basics, i.e., hand vs machine embroidery comparison?
Choose hand embroidery techniques for one-off pieces, delicate fabrics, or designs where texture and depth matter. Choose machine embroidery basics for multi-item runs, precise outlines or fills, and when you need fast turnaround and consistent branding. A hybrid approach can also optimize both.
How does fabric and stabilizer selection impact hand vs machine embroidery outcomes?
Fabric and stabilizer selection strongly influence both methods. Lightweight fabrics benefit from lighter stabilizers or tear-away options in machine embroidery, while hand embroidery often requires a stabilizer that supports the weave without interfering. Always test stabilizers and hoop tension on a similar fabric to prevent distortion.
What are practical embroidery design tips for blending hand embroidery techniques with machine embroidery basics?
Design tips include planning which elements are machine-ready versus hand-embellished, using machine capabilities for base fills and clean outlines, and reserving hand embroidery techniques for texture and focal accents. Keep color stops efficient for machine parts and allow flexible blending in hand areas; always test on swatches.
What is a hybrid workflow for hand vs machine embroidery, and how can you integrate hand embroidery techniques with machine embroidery basics?
A hybrid workflow can start with machine embroidery basics to create a precise base pattern for speed, then add hand embroidery techniques for texture and emphasis. Plan clear roles for each technique, prototype early, and document materials and settings to scale the project.
What common pitfalls should you avoid in both hand embroidery techniques and machine embroidery basics, and how to troubleshoot?
Common pitfalls include skipped stitches, fabric puckering, and thread breaks. Avoid them by re-hooping, using the right stabilizer, choosing compatible needles and threads, and testing tension on a swatch. For hand embroidery techniques, ensure proper frame tension; for machine embroidery basics, optimize stitch density and underlay.
| Aspect | Key Points |
|---|---|
| Overview | Hand vs Machine Embroidery sits at the intersection of craft and production. Understanding differences helps design choices. The guide covers pros/cons, best practices, and practical tips to blend methods for texture, speed, and durability. |
| Hand embroidery techniques | Needlework done by hand using a needle and thread. Includes stitches like backstitch, satin, stem, French knots, and goldwork. Offers texture and dimensionality hard to reproduce by machines; prized for artisanal feel. |
| Hand Embroidery advantages | Texture and character; infinite stitch vocabulary; low equipment cost for occasional projects; repairability and control. |
| Hand Embroidery limitations | Time investment; consistency challenges across multiple items; fatigue and ergonomics. |
| Machine embroidery basics | Uses an embroidery machine to apply patterns with speed, accuracy, and repeatability. Modern machines reproduce complex fills, outlines, and lettering with consistent stitch density and color management. |
| Machine Embroidery advantages | Speed and consistency; capable of complex patterns and fills; reduced physical strain; accessible digitized design workflow. |
| Machine Embroidery limitations | Texture can be flat; setup complexity (hooping, stabilizers, digitizing); cost of equipment/maintenance. |
| When to choose machine embroidery | Multiple items, precision, and repeatable branding; large runs; efficiency and uniformity in stitch length and density. |
| When to favor hand embroidery | One-off pieces or designs where texture/personality matter; delicate fabrics; preference for custom stitches and color blending machines can’t easily replicate. |
| Integrating hand and machine techniques | Hybrid approaches often yield the best results: machine for base patterns and hand stitches for texture; or hand centerpiece with machine outlines. Plan roles for each method and test workflow early. |
| Practical planning guide | Define design objective; consider fabric and stabilizers; choose appropriate threads; plan color management; test and sample on similar fabric before final piece. |
| Design workflow and process optimization | Develop a design brief; create digital mockups for machine components and hand embellishments; careful digitizing for machine; prototyping with the same materials; thorough documentation. |
| Best practices for fabric, stabilizers, and threads | Fabric selection (lightweight linens/cottons for hand; denim/canvas for machine), stabilizers (cut-away for dense machine fills, tear-away for lighter work), thread choices (hand vs machine fibers), hooping and tension consistency. |
| Common pitfalls and how to avoid them | Skipped stitches, fabric puckering, thread breakage; solutions include rehooping, rethreading, adjusting stabilizers, choosing appropriate needle sizes, and matching thread to fabric. |
| Case studies (project examples) | Boutique logo on cotton tote: machine for base logo with hand accent; heirloom gown: hand for delicate details with machine for borders; kids’ jacket: machine for base shapes, hand embellishments for texture; quilt block: hand focal motif with machine background fills. |
| Design workflow and process optimization (summary) | Start with a design brief; digital mockups for machine parts; hand plans for texture; careful digitizing and planning; prototyping on similar fabric; document settings and materials for future reuse. |