
The basics of Custom Patch Design
Starting your journey into apparel customization is an exciting process, especially when exploring Custom Patch Design. Creating a unique emblem from scratch allows brands, clubs, and individuals to showcase their distinct identity on jackets, hats, and bags. However, the design phase requires careful planning to ensure the final physical product matches your original vision. From selecting the appropriate dimensions to finalizing the color palette, every single detail plays a massive role in producing a high-quality accessory that stands out and accurately represents your core message to the world.
Choosing between Embroidered Patches and others
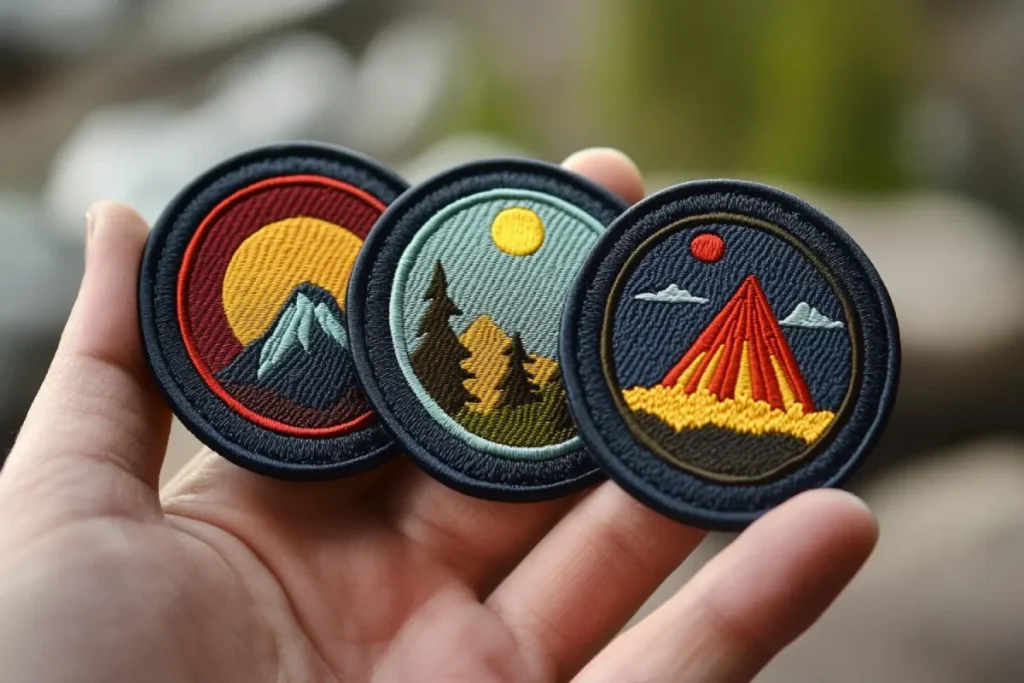
The first major decision in your creative process involves selecting the manufacturing style. Traditional Embroidered Patches are incredibly popular because they offer a classic, raised texture that feels durable and premium. This style uses thick threads to build the design, making it perfect for bold logos and simple text. Alternatively, if your artwork features tiny details or complex color gradients, you might want to consider woven or printed alternatives. Understanding these physical limitations early in the process ensures your artwork translates perfectly from a digital screen to a tangible piece of fabric.
Selecting your Patch Backing Types
Once you establish the visual aesthetic, you must choose how the emblem will attach to garments by exploring different Patch Backing Types. The most common option is the standard heat-activated iron-on backing, which is excellent for quick, DIY applications on cotton or denim. For tactical gear or easily interchangeable uniform logos, hook-and-loop fasteners are the undisputed industry standard. If you prioritize maximum, permanent durability for heavy outdoor wear, selecting a plain plastic backing designed specifically for professional sewing is always the most secure and reliable application method available.
Creating the perfect artwork layout
Developing a successful Custom Patch Design requires simplifying your graphics. Unlike digital printing, thread has physical thickness. Therefore, you must eliminate highly complex background patterns and extremely tiny typography. Focus on creating bold, highly contrasting elements that remain easily recognizable even from a distance. Utilizing vector graphic software is highly recommended, as it allows you to easily scale your artwork and separate the colors cleanly. A clean, minimalist approach almost always yields a superior, more professional-looking final product than an overcrowded, highly complex illustration.
Understanding thread colors and borders
Color selection is a vital component of manufacturing beautiful Embroidered Patches. Most professional manufacturers limit designs to around nine distinct thread colors to prevent the material from becoming too stiff or bulky. You must also decide on the border style. A merrowed border wraps a thick thread around the outside edge, providing a traditional, finished look ideal for standard shapes like circles or shields. For highly irregular or completely custom shapes, a laser-cut border is required to seal the edges flatly and prevent the fabric from fraying over time.
Conclusion: Launching your new accessory
In summary, mastering the fundamentals of Custom Patch Design requires a strategic balance between artistic vision and manufacturing reality. By carefully selecting between thick Embroidered Patches or detailed woven options, simplifying your vector artwork, and choosing appropriate Patch Backing Types, you guarantee a fantastic final product. Taking the time to understand these specific manufacturing nuances ensures your custom emblems will look highly professional, remain incredibly durable, and perfectly represent your brand or organization for many years to come.
Frequently Asked Questions
1. What is the best software to create my artwork?
Using vector-based programs like Adobe Illustrator is highly recommended for creating clean, easily scalable graphics.
2. How many colors can I typically use?
Most professional manufacturers recommend limiting your design to nine or fewer thread colors for the best results.
3. Are iron-on backings considered completely permanent?
While they offer a strong initial hold, sewing the edges is required to guarantee a truly permanent attachment.
4. Why should I avoid tiny text in my artwork?
Thick threads cannot physically replicate microscopic details, causing tiny letters to look blurry or illegible.
5. What is a merrowed edge?
A merrowed edge is a heavy, overlock stitch that wraps securely around the outside border to prevent fraying.